

All techs know the drill with padding a saxophone: the pad cup is heated, the adhesive melts, and the pad is floated into place and adjusted. The adhesive cools, and ideally you have a pad that seals against a flat and level tone hole. Easy enough, right? Well what happens when you take away the adhesive from that equation?
The truth is that manufacturers today don’t put glue behind the pads. Even the best manufacturers and their professional line of instruments, but especially the cheaply made imports. The tiny dollop of adhesive that holds the pad to the cup will never allow the pad to float into place. The factory workers bend everything around to make it seal enough to leave the factory and it goes out into the world and to its new owner.
The buyer is so excited to receive their new saxophone, but they play it and it just doesn’t live up to their expectations. Eventually, the take it to their technician.
What is a technician supposed to do to remedy the situation? Bend the cup more to remove the leak? Or take the entire horn apart, straighten everything, and re-pad a brand new instrument? We know that the first option is fast and much cheaper for the customer. The latter would be the best solution, but few customers who just bought a brand new instrument are ready to sink the price of a re-pad into it.
There’s one more option that makes the instrument much more serviceable and playable, yet can be done fairly quickly. Many technicians are already doing but don’t like to talk about it. Maybe it’s time we legitimize the technique…. You can carefully add adhesive behind the pad cups so that the pads will float and can actually be leveled.
For professional level instruments, start by removing the keys and checking the tone holes. Chances are, they are not perfectly flat. As long as there is no damage or ovaling to the body tube of this brand new saxophone, level all of the tone holes with the Complete Tone Hole File Set and a drill, and clean.
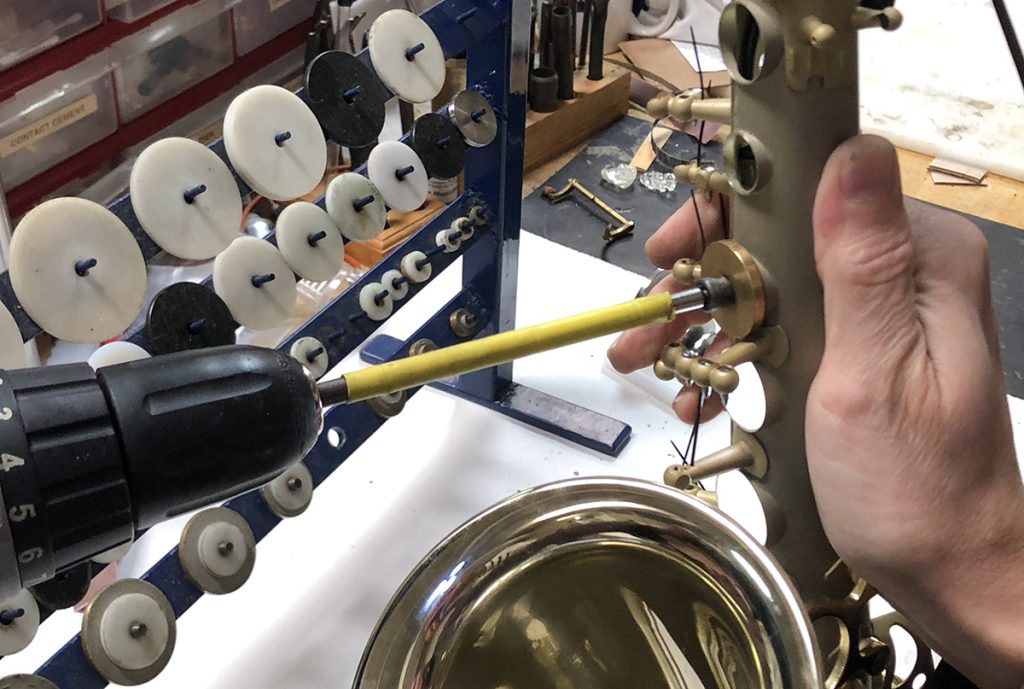

Now mark each pad so you can replace it exactly. Marking the location of the spine will be clear and discrete.

Now heat each pad cup and use a pad prick to reach into the cup and gently pull the pad out far enough for you to insert the tip of the Z-Gun and inject some shellac behind the pad.
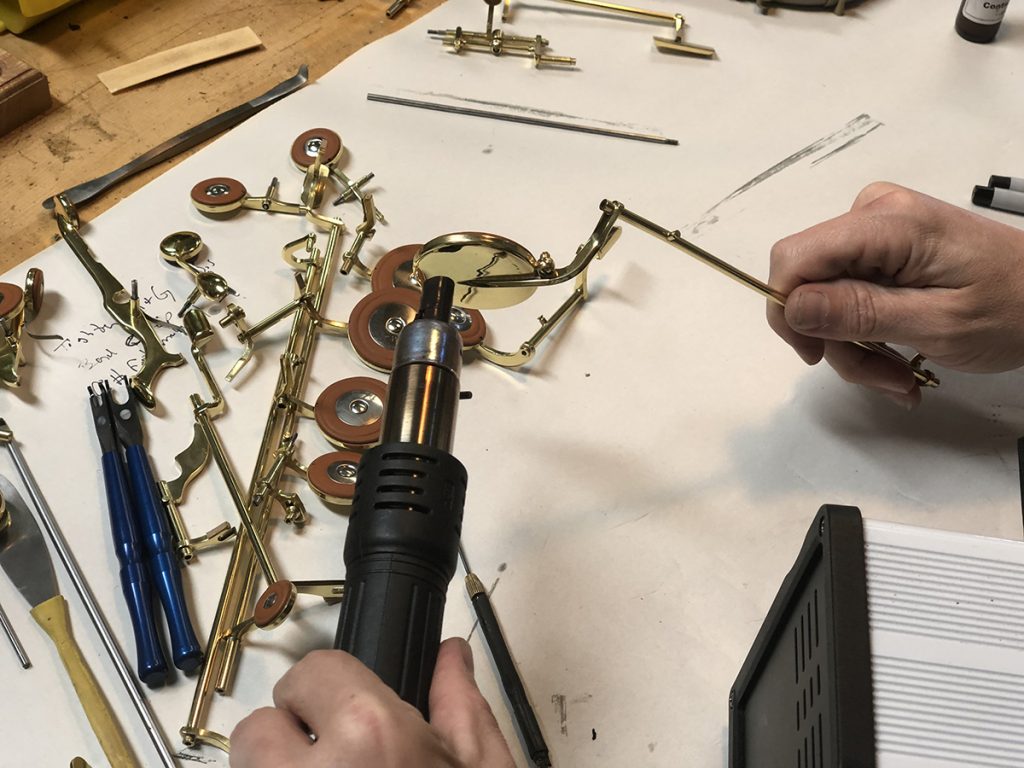
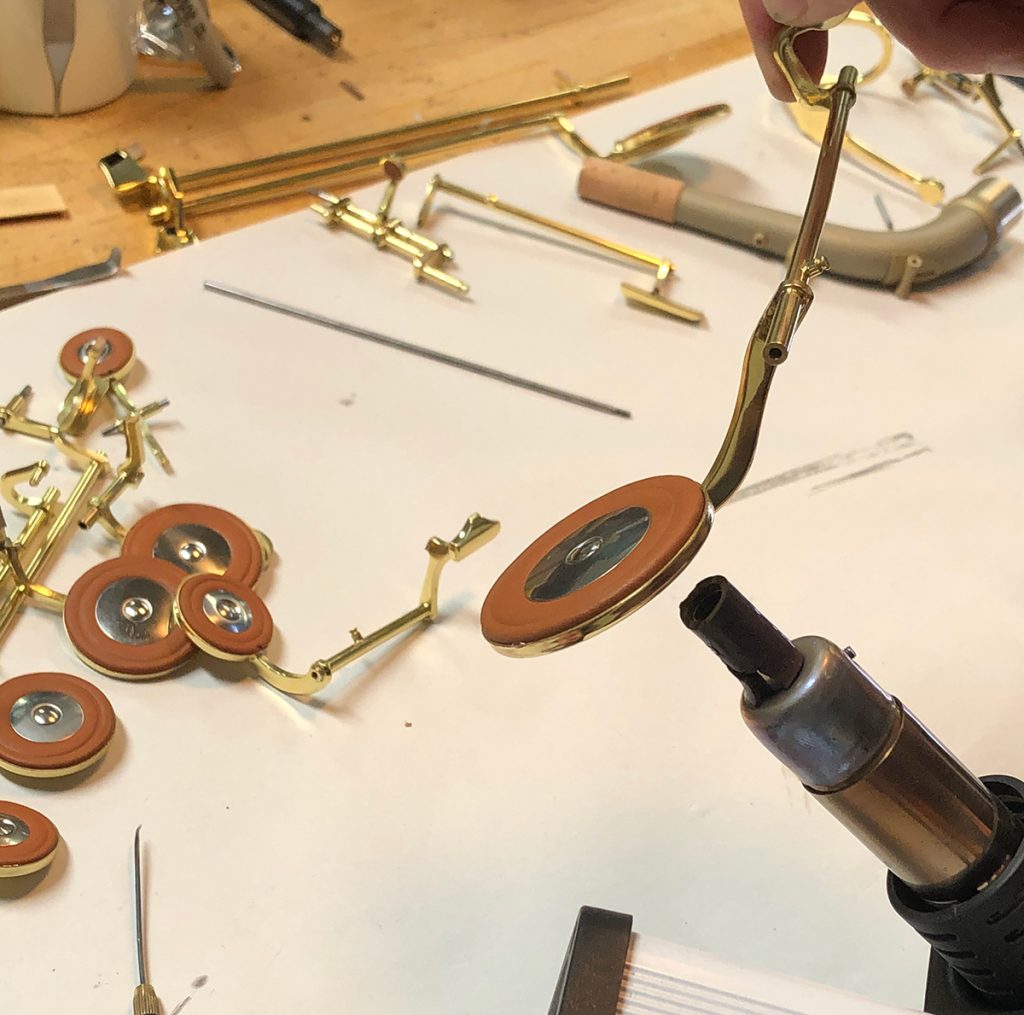


As you reassemble the instrument, make sure that all rods and screws are properly lubricated- we use Ultimax Pivot and Roller lubricant and Ultimax Medium Viscosity Key Oil. Next, heat each cup and use a pad slick to adjust the pad which now floats on the bed of adhesive and take out leaks.
For student level instruments, skip the tone holes and add adhesive under the pads with the keys still on the instrument. Even this level of work will add a layer of serviceability and stability.
Make adjustments to timing and your set-up of a brand new saxophone is complete. Happy repairing!
MusicMedic repair tools & supplies mentioned in this article include: