Kasper purchased this tenor online and sent it directly to our shop.
The key guards are seriously bent. We’ll straighten them out!
The key guards are seriously bent. We’ll straighten them out!
Do you think this strap ring needs some work?
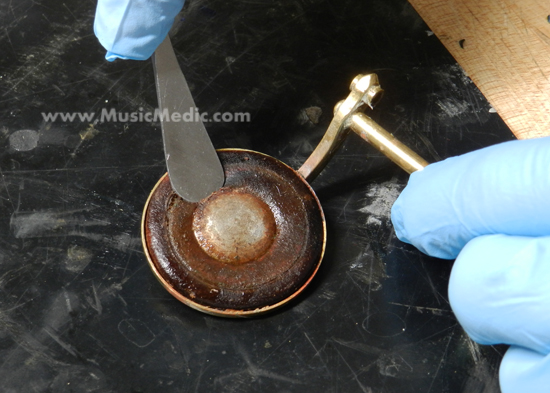
Eww! This pad’s gotta go. Smells as bad as it looks.
We’ll add sleeves to these hinge tubes so they fit nicely.
Close-up of where the sleeve will go on the G# trill key.
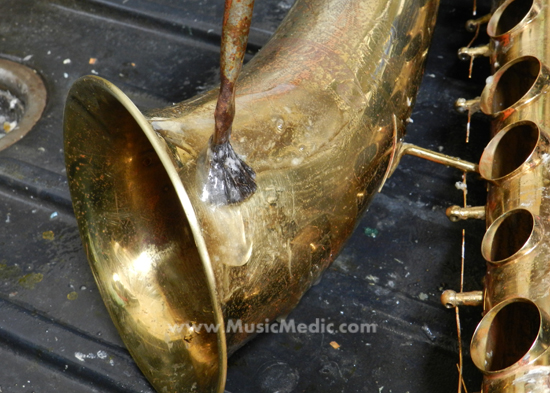
The stripping of the lacquer begins…
The keys and the neck are stripped.
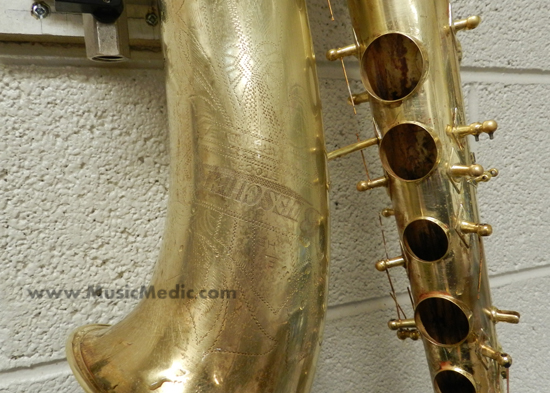
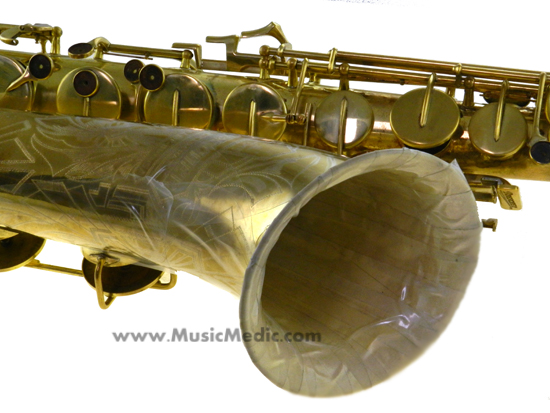
The old lacquer is gone and you can see how little of the engraving is left. This will look amazing once it’s re-engraved.
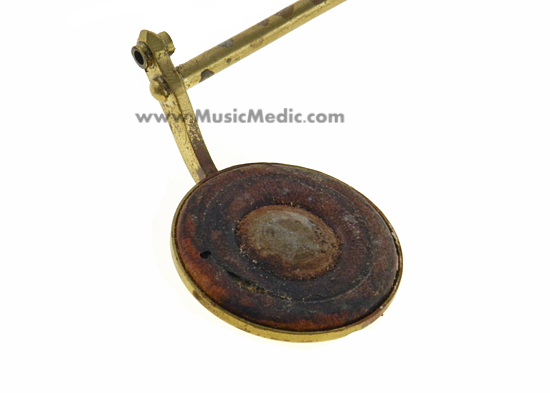
Here’s our favorite pad! It’s time for it to go!
Chris has a hard time letting go of his favorite buffing gloves…
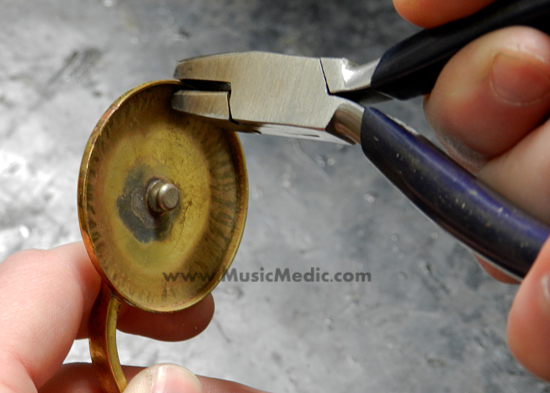
Most of the pad cups were in good shape, but a few needed to be rounded out with our MusicMedic.com Tone Hole and Pad Cup Pliers. Once the pad cups are round again, they’ll get leveled.
Low C# Minibal Mechanism almost complete!
We added material to the back of the Low B and Low C# touches as part of the SuperSlick Set-Up and to prevent the rollers from hitting the G# tab.
Fitting the palm keys.
A nice view of the added side C contact.
Kasper’s bell is back from the plater and it looks fantastic!
Josh Grant in action: Re-attaching the bell.
Josh Grant in action: Re-attaching the bell.
Josh Grant in action: Re-attaching the bell.
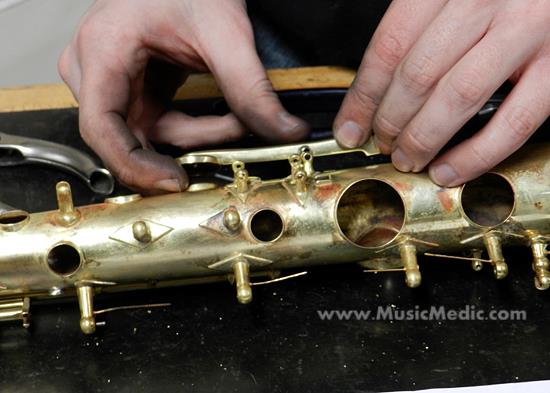
Putting the final touches on the key fitting.
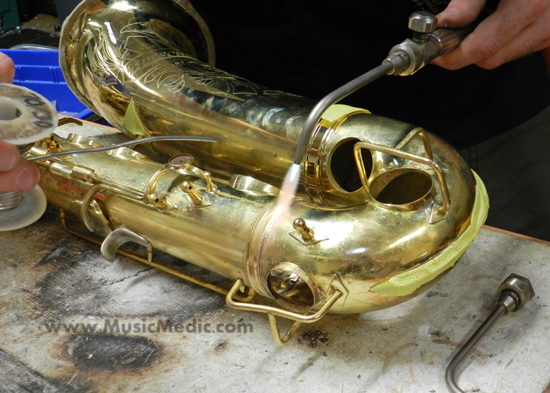
We put this clear tape over the engraving to protect it while we work through other steps of the plating process.
Dry-fitting with our Pad Cup Aligning Lever.
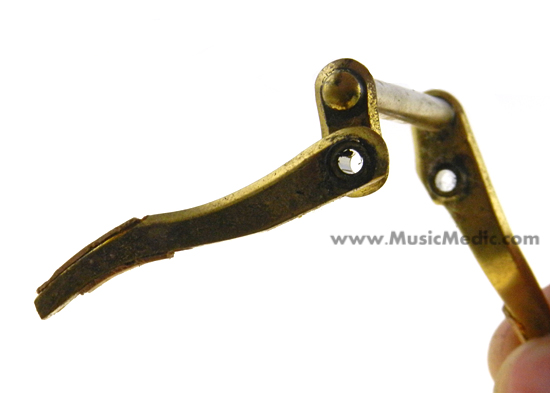
This is a case of a pad hitting extremely heavy in the back. Ryan will work his bending magic to get this straightened out.
Ryan is using the new sax key bending levers to change the angle between the pad cup and the lever.
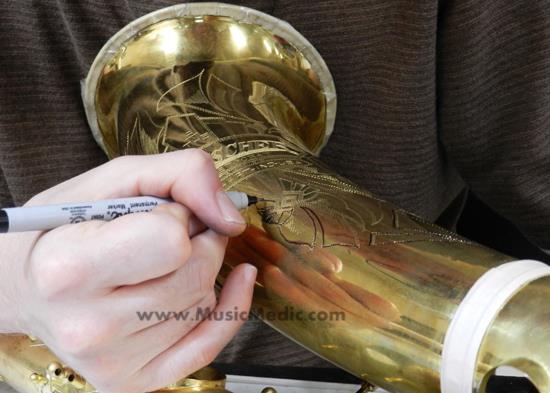
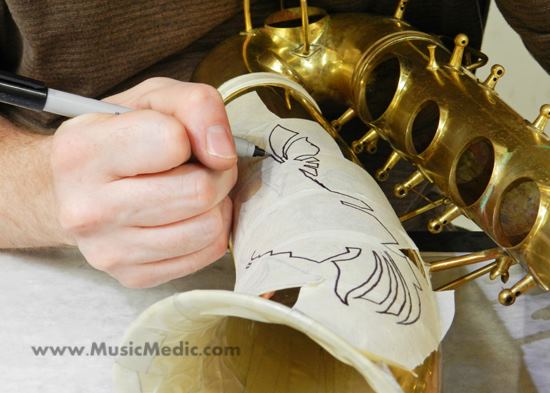
The masking process begins with outlining the engraving with a marker…
The masking process begins with outlining the engraving with a marker…
…adding masking tape…
…outlining the engraving a second time…
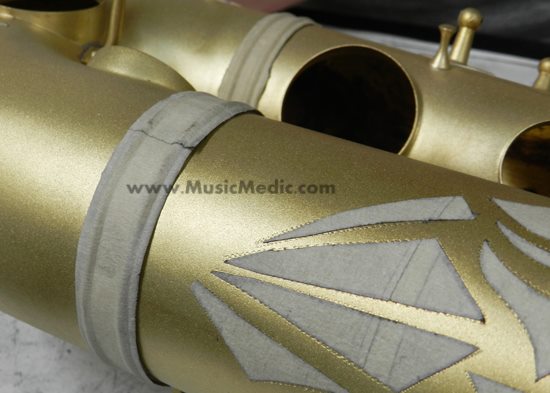
Some of the details on the saxophone will be smooth and require polishing before sandblasting.
The body bands will be smooth.
Sandblasting jigs. These protect the post facings.
Sandblasting Time!
Ryan Walker is blasting with the coarse media first.
Coarse blast finished. The fine media will really even this horn out.
After the fine blast. Next we’ll level the tone holes, remove all of the masking tape, clean and degrease, and then this horn will go to the plater!
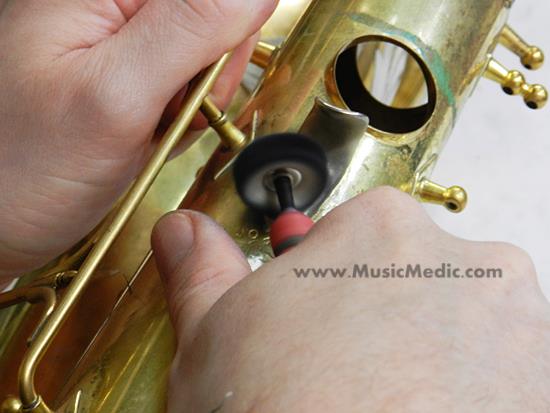
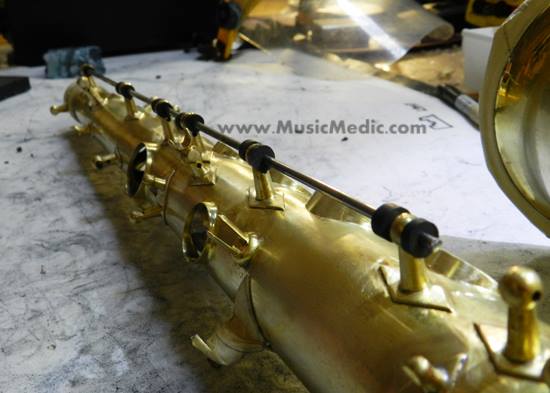
One of our delrin jigs in progress. This horn is about to be silver plated. We installed these jigs in and around all of the hinge tubes and posts to protect our glorious key fitting.
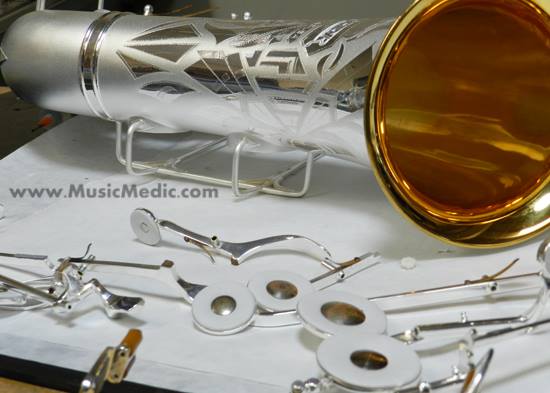
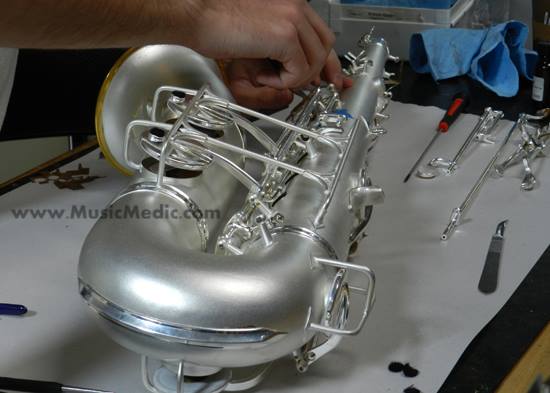
Kasper’s Tenor is back from the plater and it looks beautiful! We’re test-fitting the key work and making final adjustments.
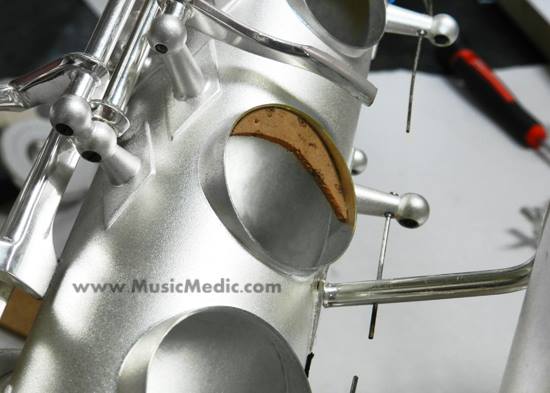
Installing leather in the key cradle to eliminate key noise.
Fitting the rollers with Teflon washers.
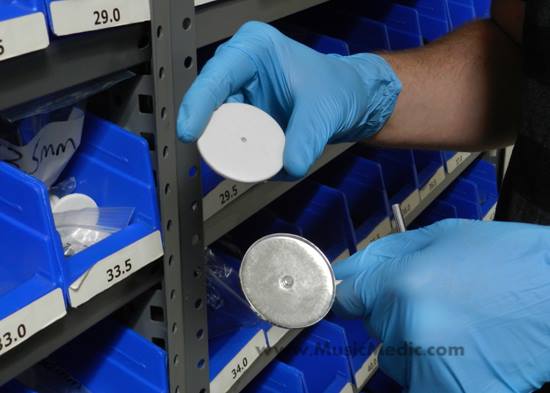
Kasper chose white RooPads and kept the original Snap-in Resonators.
The pads are glued in and ready to be leveled.
Preparing the new pearl installation. Some of the pearls will require a shim, which we made out of TechCork.
The shim gets glued in with contact cement and the pearls will be adhered with epoxy.
Matt is setting up the bell keys.
Play testing and tuning! The temporary masking tape Matt uses helps him determine where the crescents will go and how large they have to be.
The added cork crescent lowers the pitch on this G.